
How to Make Your Own Fiber Blending Board
I have been drooling over fiber blending boards on YouTube and social media for a while now. They look amazing and let you blend all sorts of fiber types or different colors of fibers to make really unique blends. For example, I have a big fluffy bag of merino wool that I would like to combine with some recycle sari silk that I bought at a fiber shop on our epic summer road trip in Tucson, Arizona. There’s a store there called Grandma’s Spinning Wheel and if you are ever anywhere near there it is an amazing shop!
Anyway, I am 10 and a fiber board is more money than I can spend right now. In the spring I bought #Petuniathespinningwheel, so it was not a good time for me to buy a pre-made blending board. I decided to DIY it and I am so happy with how it came out.
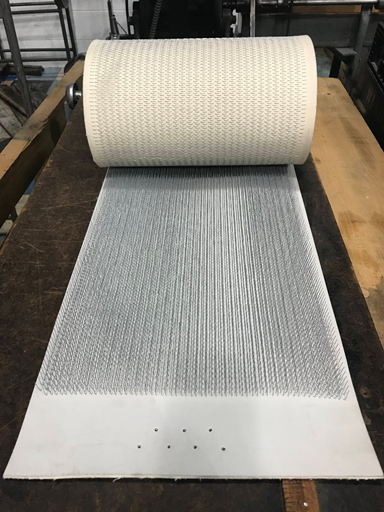
The first thing I did was find the blending board fabric. The first place I looked was Howard Brush Outlet on Etsy . My grandma bought me hand carders from them for my birthday and they are great. Sure enough they sell their blending board fabric. It is 12” wide and you can order whatever length you want. It just has to be in 12” length increments. I bought a piece that was 12” x12”. The quality is great!
Then we started searching Goodwill for the perfect cutting board to mount it on. I bought this one that is 12” wide and 13” tall. It was one dollar! Perfect!
My next stop was Home Depot. I needed some dowel rods to pull the fiber off the board onto. Here is what I mean by that.
I also needed a paint brush to really get the fiber deep into the prickly things on the fiber fabric. I am sure they are not called prickly things, but since I don’t know their actual name… that is what I am going with. They are very prickly! When I built the board my dad helped me push down on it because it is a little sharp.
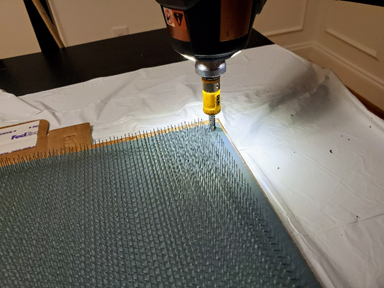
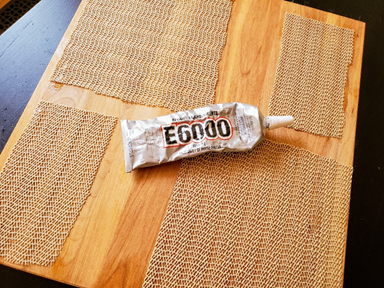
So I had all my supplies and it was time to assemble everything. My dad is MacGuyver, so he helped! We used contact cement spray on the cutting board and the back of the blending board fabric. I included a picture of the one I used, but I am sure other kinds would work too. Just read the directions on the one you use. Mine told us how much to spray and how to spray it. Then it said we had to let it dry for two minutes or until it wasn’t sticky anymore. Once it was the right amount of dry we stuck the blending board fabric to the cutting board. Then my dad put screws in the four corners to make sure it really stayed put.
I got some rubber grippy stuff from my grandma. They sell it at Dollar Tree and you put it under your rugs to keep them from slipping. It helps keep my board from moving when I am blending fiber.
We also cut and sanded the dowel roads. I tested the length and 20” felt comfortable. It covered the 12” across the board and left room on both sides for my hands to hold onto. Then we sanded them because they were a little rough and I didn’t want them to snag my fiber.
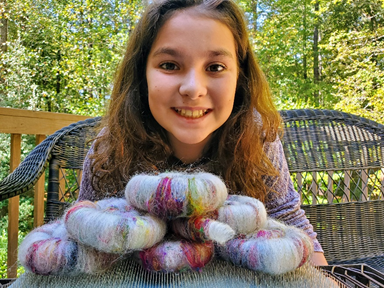
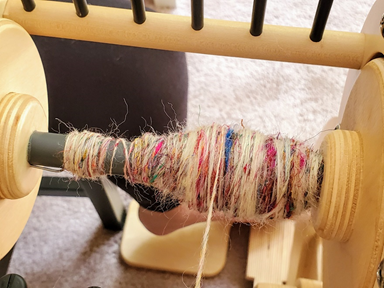
I watched a lot of videos on how to blend fiber on a board before I tried this. I know how to blend fiber on hand carders and it is pretty similar. I have been practicing and making some really pretty rolags. I have only spun up the first rolag so far, but I love it!
Here is my total cost for the project. We already had screws that worked, a bottle of spray contact cement, and the grippy things from under the rug to keep it from slipping when I work. If you don’t have those things you will spend about $8 more than I did.

I filmed all the steps of my project so you can really see it come together! I also filmed a blending demonstration. I hope you find this really helpful. Happy blending. I would love to see what you spin or weave or whatever with your amazing fiber blends! Astrid